How can such a system be created in the Fortask application
From this article you will learn how to use Fortask for this. The next steps of this guide will help you:
- Planning - how to prepare for implementation
- Project creation
- Templates - in order to describe the path of action
- Effective communication to the team
- Start working in an organized fashion
Let's move on, then, to a description of the various components:
Planning - how to prepare for implementation
Before you start implementing anything, you need to know how it is supposed to work “on paper” To do this, you need to ask yourself a few questions:
- Who is involved in the execution of requests?
- What steps within a request can we distinguish?
- How do the steps depend on each other and are they timed?
- Who can submit requests?
If you want to go deeper on the topic, we encourage you to check out this article on process mapping: A guide to process mapping - everything you need to know
Having a set of data, you can proceed to implement the project in the application....
Project creation
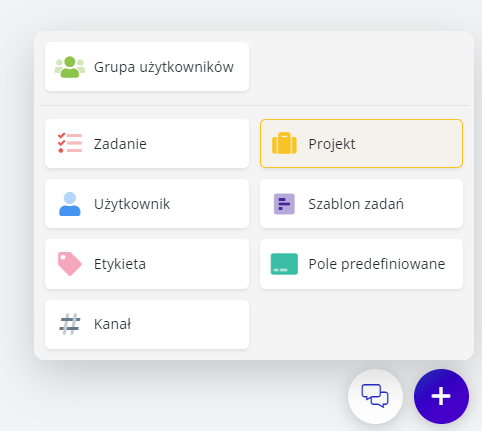
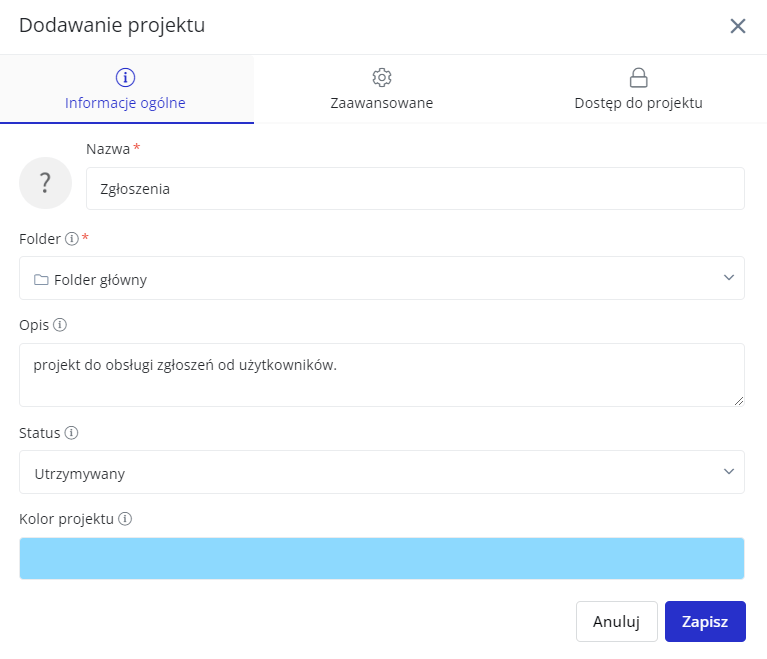
To create a project, simply select “Project” from the adding panel. Then you need to do some basic configuration - but the name and location will be enough at first. Other key elements will be presented in later steps.
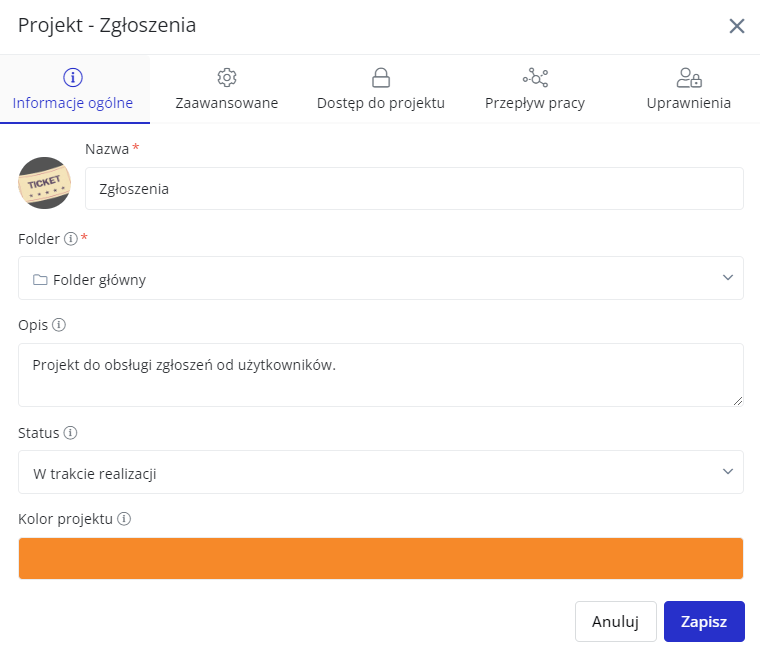
Once the Project is saved, it can be edited - giving you more tabs with which to modify basically the entire configuration.
The project - what to pay attention to?
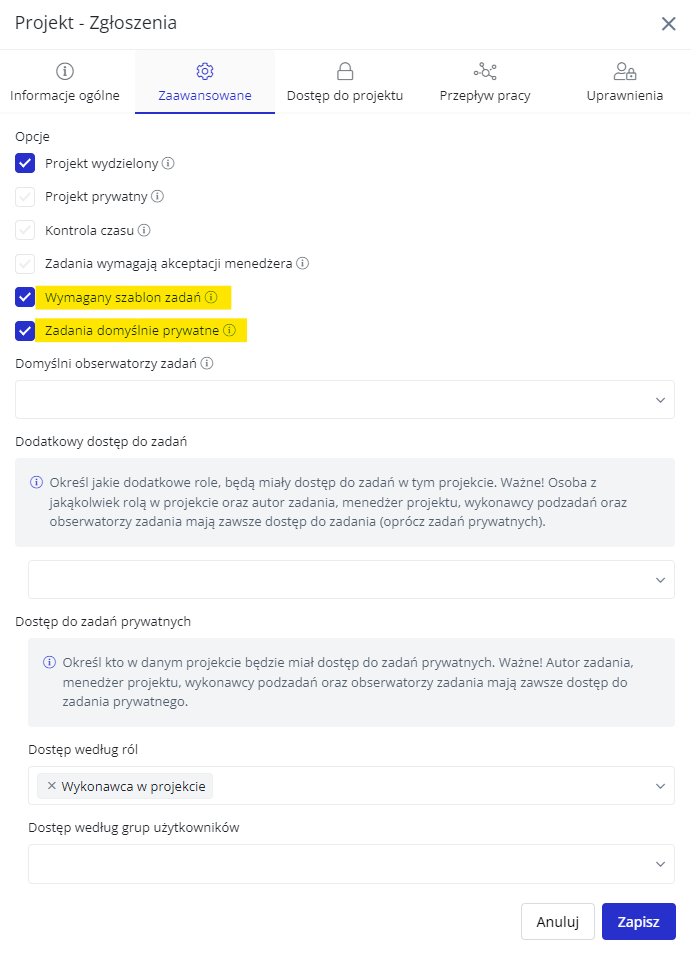
There are a few elements that may be key here. The first is the Advanced option. In order to obligate users to use only template requests, check the “Task template required” option. If the task should be visible to a specific group of people (or specific members of the organization) involved in the project, it is possible to use the “Tasks private by default” option - this way the people involved in the request will see it.
In the Project Access tab, you can assign appropriate groups to be able to add tasks (the person adding the task must be assigned the role “ orderer” or higher). In this way, once an employee is added to a group, he or she will automatically get the appropriate permissions to the project (or projects) and channels in the system.
Templates - in order to describe the path of action
Each template can perform a different function. If we are talking about a request of a particular type, it will be crucial to break down the subtasks and collect the relevant data using the additional fields. The most important elements related to the configuration are contained in the Basic Data and Advanced tabs.
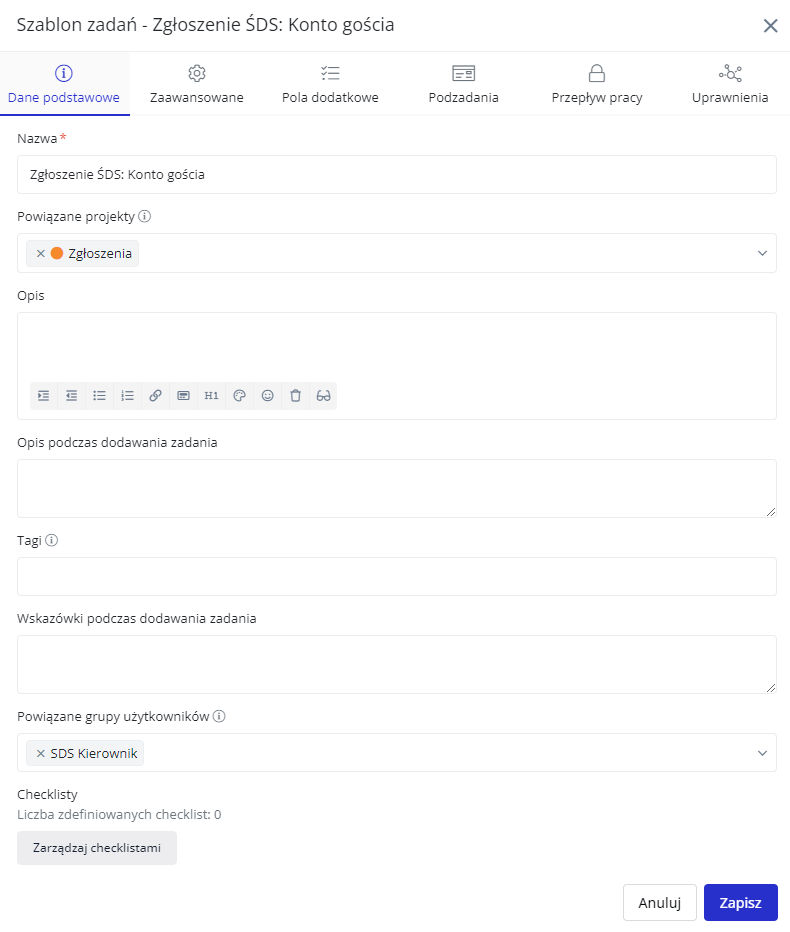
Templates - basic data
Here we have the option of related projects, the purpose of which is to limit the availability of the template to specific locations - not only specific projects, but also folders can be selected here.
Hints when adding a task are short instructions that appear under the title in the window for adding a task from a template.
Related user groups allow you to give the template only to these specific users. This allows you to handle multiple templates from a single project.
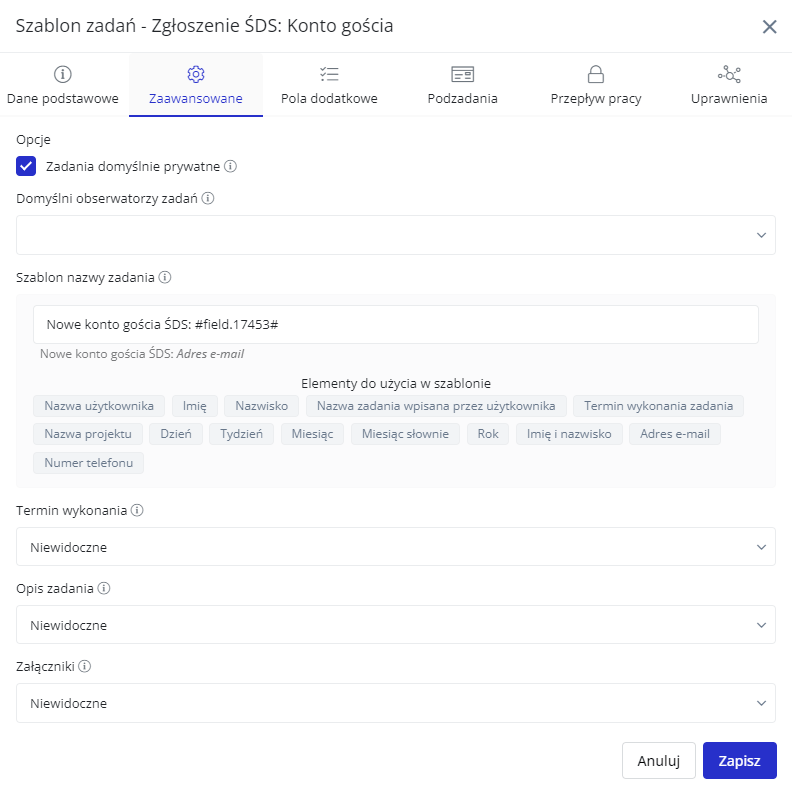
Advanced template configuration elements
Here we can specify whether the tasks from this template will be private or not - yes, at the stage of configuring the project there was also such a setting, if you have many templates in one project and they all need to be added as private tasks, then the option marked in the project will be effective. If, on the other hand, not all templates require tasks to be private, then the private ones can be marked directly in the template settings.
The same when it comes to default observers.
Here you will also find the Name Template - this is a functionality that allows us to specify how the tasks will be named. Here you can use the additional fields that are filled in when the user is adding a task.
In addition, we specify here whether the user will have access to the due date field, task description or adding attachments.
Here is an example of such a window:
Effective communication to the team
The days of emails are slowly becoming a thing of the past when it comes to internal company communication - modern companies are using other, more effective solutions. One of these solutions are channels.
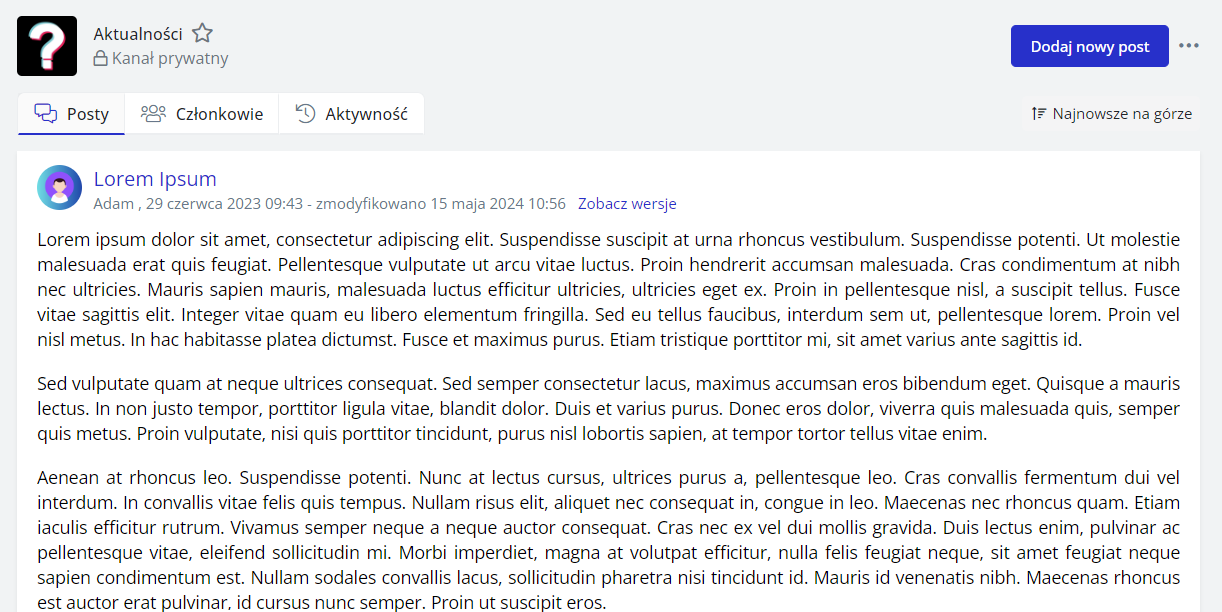
Channels allow you to post information - like in a corporate forum. Discuss in comments, use reactions, emoticons and called out specific users for discussion.
If we have a public channel - it is dedicated to all users, and those users do not have the possibility to leave it. In this way, access to important information can be guaranteed on a constant basis.
There are also private channels for discussion in smaller teams. This is where specific groups can be linked to channel participation - exactly the same principle as in project options.
On top of that, if a new person joins the channel - for example, as a result of being added to a group, he or she gains access to previously added posts. Each participant can get notifications about new posts:
At the end remains the execution of requests that will be arriving from the users.
Groups frequently appeared in this text. Therefore, you can learn more about groups from the video, which you can find here (Polish voiceover):


