A well-planned company's structure will make every user's work easier in terms of Fortask implementation. It influences not only the comfort of usage but also the effectiveness of making changes especially in case of employee's turnover within the team. In order to introduce Fortask in the company it is advisable to take the following elements into the consideration:
- Defining correlations between departments.
- Departments' structure.
- Employees‘ contact details.
- Information flow analysis in terms of cooperation between departments.
First of all, you should begin from preparation of the company's structure. In this case it is a good idea to create a draft using a pencil. Such method is not only most convenient but also will be a great aid for further work with the preparation of the company to work with the app. In any given moment you can consult the structure with other people and make changes as you go. Below you will find a visual representation of company departments' structure.
Having such draft you can proceed to smaller units down to the final link of a chain, namely, the employee. Below you will find another draft including sales department with the hierarchy of the positions of the employees.
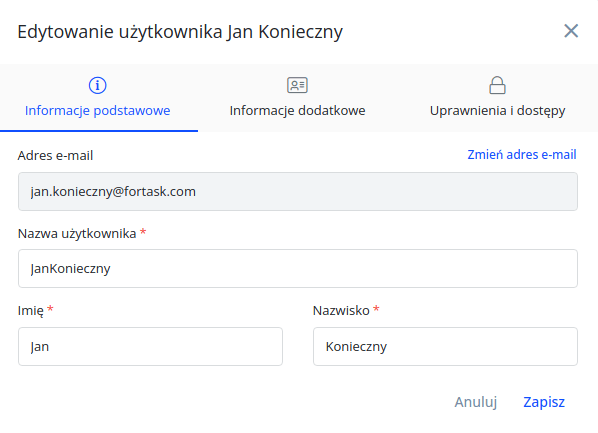
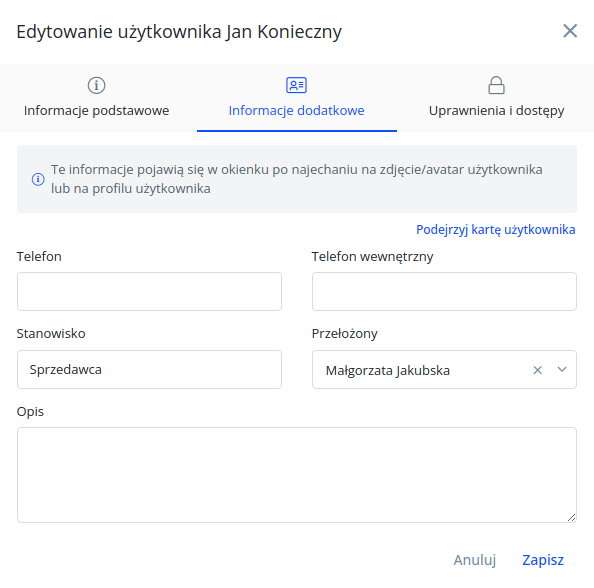
Now, after reaching a complete draft you can start transferring data directly to Fortask. In order to do so, go to management, next users management then select option "users" and finally go to settings of a specific employee to fill out fields such as Position and Supervisor.
And:
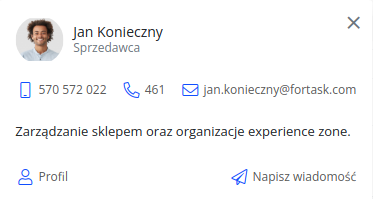
All entered data will be visible in employee's profile. All employees will have the possibility to visit colleague’s profile and check their contact's details or the position within the company. To check data put the cursor over a profile picture of the user. The window with details will appear. In the left bottom corner you will see a link to user's profile.
Groups are another piece of the puzzle. To edit groups go to management and then groups. Here you can add groups reflecting actual structures of the company. Having a defined sales department's structure, you can add groups of users (one user can belong to many groups):
- Sales department as all people: director, managers, salesmen.
- Group of Managers that is composed of director and managers.
- Group of every shop including the manager with the team.
- Group of salesmen from every shop separately (in order for the manager to be able to assign their team a specified task).
- additionally, it is possible to create a group for people responsible for similar duties such as for example ordering accessories.
Generally, for such a simple structure there is no need to create groups as employees know each other and have knowledge about the scope of their duties; however, it is an advisable step. There is one crucial advantage when it comes to creating groups namely role management of the projects. The group can have different roles assigned to different projects. As a result when the team members change due to employment, dismissal or position change the only thing that changes is the assignment of the new employee to the given groups. This operation results in receiving permissions to the projects according to the roles within the group.
The above mentioned steps are necessary to fully use all the functionalities of the app which will help modeling future processes in the company. For instance, you may create a task template in which an observer is automatically added to the task created by the. All these steps are taken for even greater control over tasks in your company. Another option which will be frequently used by the employees is the assignment of the tasks (or subtasks) to a specified group of users. The director may create a tasks for the managers to carry out an inventory check in warehouses or specified stock items - one task many receivers.
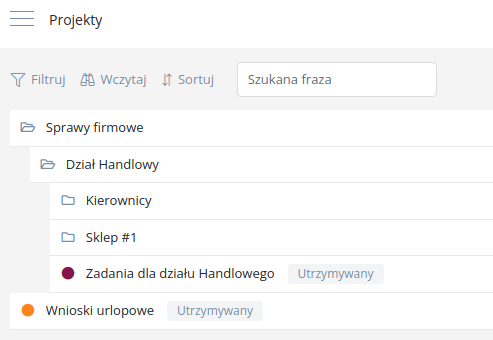
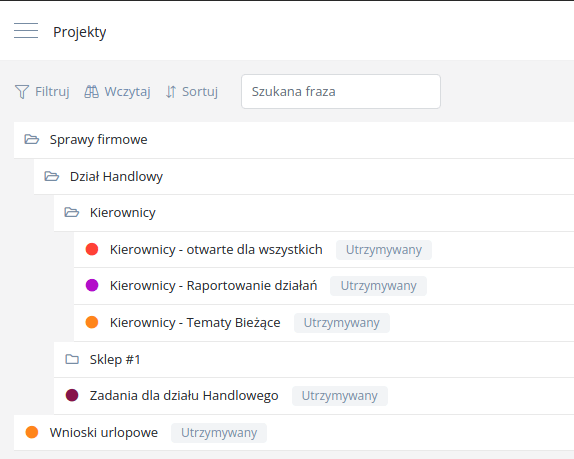
When the groups are formed there is a need of a workspace for the tasks. In projects' tab, every department should have their own folder. On the basis of above mentioned example this is how it looks:
By opening managers' folder we have three workspaces:
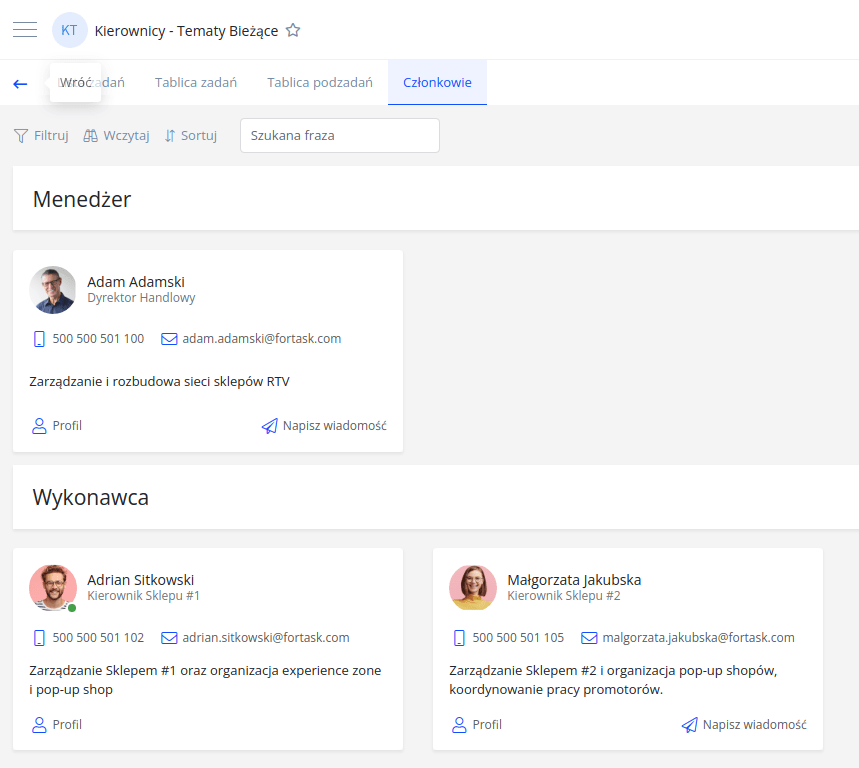
In case of having doubts when it comes to assigned roles, it is easy to check who is responsible for what in a given project. Just go to project's details and tab Members to find a list of all team members involved in a project with specified roles.
In every company there are tasks with confidential data. A good example of those can be a task regarding human resources. In the above given example there is a project called HR related issues. Thanks to advanced project's options you can limit the number of people having access to tasks. You can simply turn on tasks private by default option to make given tasks available only to people involved in a given project. Other employees will not see such task on a list of tasks. You can separate tasks from teams or managers.
Additionally, you can enforce adding every task from a task template which will ensure its completeness and performed in shortest time possible.
Creation of a holiday request form's template and appropriate project's space together with all aspect of such project will be explained in the next article.


